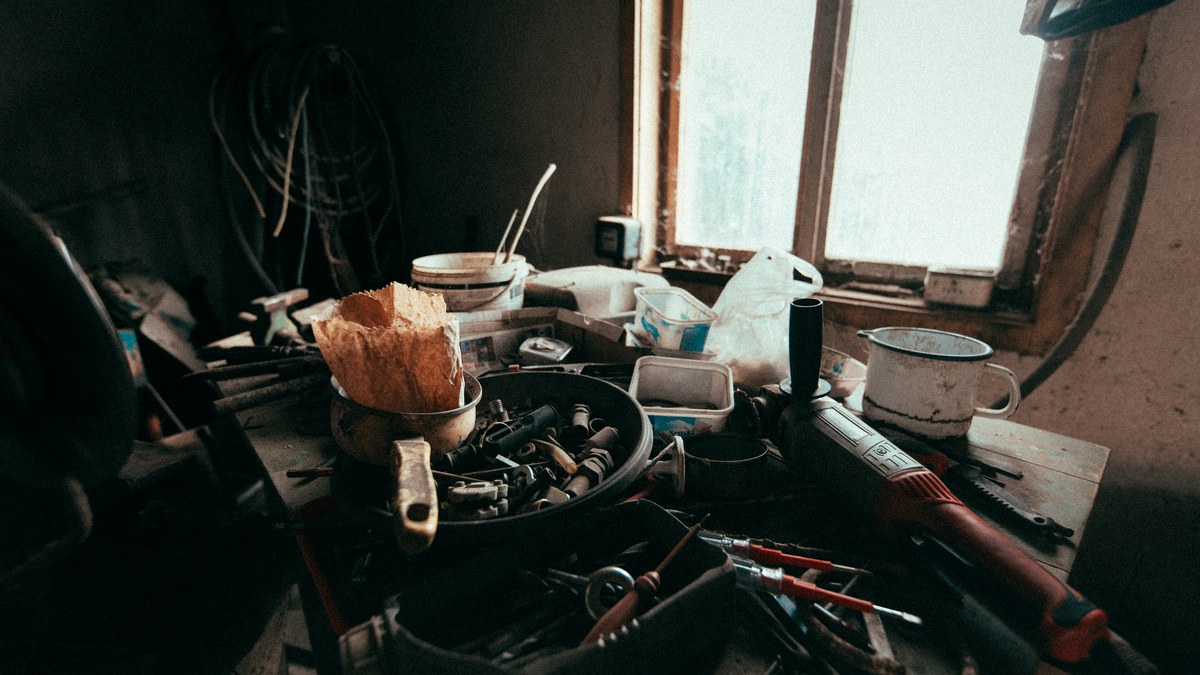
Some of the best things in a house were built on a Saturday. A tool tote that rode in the truck for thirty years. A coat rack by the back door. A birdhouse on the fence post. You don't need a big shop for any of these. Most need a saw, a drill, sandpaper, glue, and a few screws or nails.
One thing to know before you buy wood: board names are not their real sizes. The USDA Forest Products Laboratory explains that "nominal" sizes are larger than the actual dressed boards. A 1x4 is about 3/4 x 3 1/2 inches, a 1x6 is 3/4 x 5 1/2, a 1x8 is 3/4 x 7 1/4, and a 2x4 is 1 1/2 x 3 1/2. Every size below uses the actual dimensions.
1. An edge-grain cutting board
Fourteen hardwood strips glued on edge make a board about 10 1/2 x 16 inches. It is the best single project on this list for gifts. Our full plan has the cut list, the glue, and the food-safe finish.
2. A bluebird nest box
Build it to the North American Bluebird Society's recommendations for Eastern Bluebirds:
- Entrance hole: a round hole 1 1/2 inches across (up to 1 9/16)
- Floor: about 4 x 4 or 5 x 5 inches inside
- Hole height: the bottom of the hole about 4 1/2 to 6 inches above the floor
- No perch under the hole
- Vent holes near the top, drain holes in the floor, and a side or front that opens so you can check and clean it
- Untreated wood only, mounted about 5 feet up or higher
Rough cedar or pine 1x6 works well. A single 6 foot board is plenty.
3. Coasters from one 1x4
Cut a 1x4 into 3 1/2 inch squares. Four coasters take about 15 inches of board, counting saw cuts. Sand the edges soft, then wood burn a letter or a simple design on top, and finish with a few coats of a water-resistant clear finish. A set of four tied with twine is an easy gift.
4. A wood burned name sign
A basswood round, one burner, and a family name. Our beginner wood burning guide walks through the tool, the pattern, and the finish.
5. A tool tote
The classic open box with a dowel handle.
| Part | Qty | Size |
|---|---|---|
| Ends | 2 | 1x6 (3/4 x 5 1/2), 10 in tall |
| Bottom | 1 | 1x6 (3/4 x 5 1/2), 16 1/2 in long |
| Sides | 2 | 1x4 (3/4 x 3 1/2), 18 in long |
| Handle | 1 | 1 in dowel, 18 in long |
The bottom fits between the ends, so 16 1/2 + 3/4 + 3/4 = 18 inches, the length of the sides. Round the tops of the ends, drill a 1 inch hole near the top of each for the dowel, then glue and nail or screw it together.
6. A coat and key rack
Cut a 1x6 to 24 inches. Mark hook spots 3 inches in from each end and every 6 inches between, which gives four hooks (3 + 6 + 6 + 6 + 3 = 24). Sand, finish, and screw it into wall studs so a heavy winter coat can't pull it down.
7. A simple wall shelf
A 1x8 cut to 24 inches on two metal shelf brackets. Paint or stain the board first. Screw the brackets into studs, or use wall anchors rated for more weight than you plan to put on it.
8. Bookends
Each bookend is an L made from 1x6: a base 6 inches long and an upright 7 inches tall, glued and screwed at a right angle. Glue felt pads on the bottom so they don't scratch the shelf. Make a pair from one 30 inch piece.
9. A tea light holder from a 2x4
Cut a 2x4 to 12 inches. Mark three hole centers along the middle of the wide face at 3, 6, and 9 inches. Drill each hole about 1/2 inch deep with a bit just a little wider than your tea lights, and test the fit on scrap first. Use battery tea lights, since real flames and wood sit close together here.
10. A serving tray
- Bottom: 1x8 (3/4 x 7 1/4), 16 inches long
- Sides: two 1x2 (3/4 x 1 1/2), 16 inches long, glued and nailed to the outside edges of the bottom so they stand 3/4 inch above it as a low lip
- Handle ends: two 1x4 (3/4 x 3 1/2), 8 3/4 inches long, which covers the bottom plus both sides (7 1/4 + 3/4 + 3/4 = 8 3/4)
Drill two 1 inch holes in each end and cut between them for a hand hold. If food will sit right on the wood, finish it with food-grade mineral oil, the same as a cutting board.
Weekend safety
- Eye protection for every cut, and hearing protection with power saws and routers. OSHA lists both.
- Keep blade guards in place, and use a push stick for narrow pieces on the table saw.
- Control dust with dust collection or a shop vac, and wear a proper particulate respirator for heavy sanding.
- Don't burn pressure-treated scraps in the stove or fire pit. The EPA says not to burn treated wood at home.
Grandpa built most of these with a handsaw, a brace and bit, and a hammer. You can still do it that way. A cordless drill and a few clamps just make the weekend go faster.