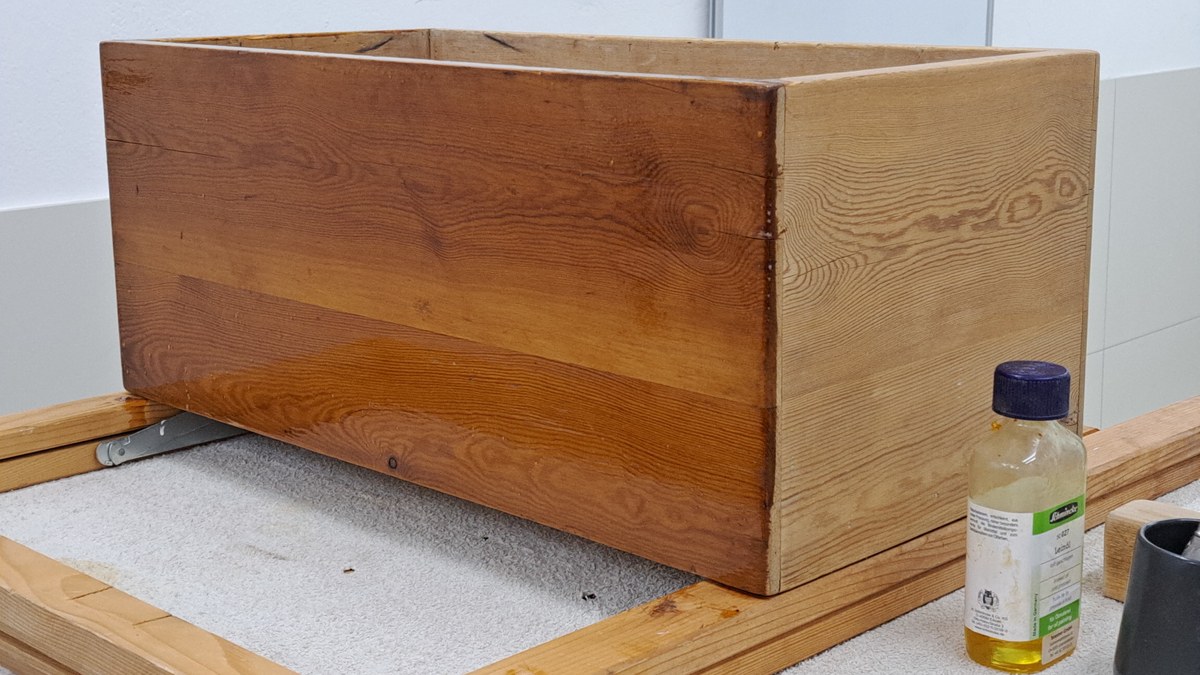
You sand the pine shelf smooth, wipe on the stain, and step back. Half of it looks great. The other half has dark, muddy patches that look like spilled coffee. Every woodworker has done it. The good news is that blotching is predictable, and you can stop it before it starts.
Why wood blotches
WOOD Magazine explains it simply: wood is not the same density all the way through. Softer, spongier areas soak up more stain and more pigment than the dense areas around them, so they come out darker.
The usual problem woods are:
- Pine
- Cherry
- Maple
- Birch
- Poplar
The short answer
Step by step
1. Sand to an even surface. WOOD Magazine recommends sanding face grain to 180 grit and end grain to 220 grit. End grain soaks up the most stain, and the finer grit helps it take less. Sand every part to the same grit; a spot you sanded harder will take stain differently.
2. Remove the dust. Vacuum, then wipe with a clean, dry cloth or a tack cloth.
3. Apply a washcoat or conditioner. A washcoat is a very thin coat of finish that partly seals the wood, so the soft spots can't drink up as much stain. A store-bought pre-stain wood conditioner does the same job. Brush or wipe it on, let it dry as the label says, and sand lightly if the grain feels fuzzy. WOOD Magazine suggests trying the washcoat on a test board first, because it changes how much color the stain leaves.
4. Stain, then wipe. Wipe on the stain and wipe off the extra within the time the label gives. Don't let unabsorbed stain dry on the surface; it turns sticky and uneven.
5. Or use gel stain. Gel stain is thick, so it sits more on the surface and soaks into soft spots less. WOOD Magazine recommends it for blotch-prone woods. It reduces blotching, but it may not erase every bit of contrast.
6. Put a clear finish on top. Stain gives color, not protection. A stain maker's own guide says to follow the stain with a clear protective finish once it is dry.
Which approach to use
| Approach | Best for | Blotch control | Dry time |
|---|---|---|---|
| Liquid stain, no prep | Woods your test board shows take stain evenly | Low on pine, cherry, maple, birch, poplar | Per label |
| Conditioner or washcoat, then liquid stain | Pine, birch, poplar, maple | Good; test first, can lighten color | Per label for each coat |
| Gel stain | Pine, cherry, maple, birch | Good; less soaking into soft spots | Per label |
| Clear finish only (no stain) | Any wood you like as it is | No stain, so no stain blotches | Per label |
Make a test board, every time
Use a scrap of the same board you are finishing, sanded to the same grit. Divide it with tape into three sections: stain only, conditioner plus stain, and gel stain. Let it dry and look at it in daylight. Five minutes here saves a weekend of stripping.
Oily rags can start fires
Rags soaked with oil-based stain, linseed oil, or other oil finishes can heat up and catch fire on their own as they dry. Massachusetts fire officials traced a 2022 fire in Ludlow to oily rags.
Massachusetts fire officials say to dry used rags one at a time, laid flat outdoors, away from anything that can burn, never in a pile or a bucket. Once they are dry and stiff, throw them out the way your town and the product label say. Never leave a pile of oily rags in the shop, the garage, or a trash can.
Grandpa had his own tricks for evening out a finish, usually learned the hard way on a pine shelf. Today the trick is in a can, but the most important tool is still a scrap board and a little patience. Test first, wipe off the extra, and dry those rags flat outside.