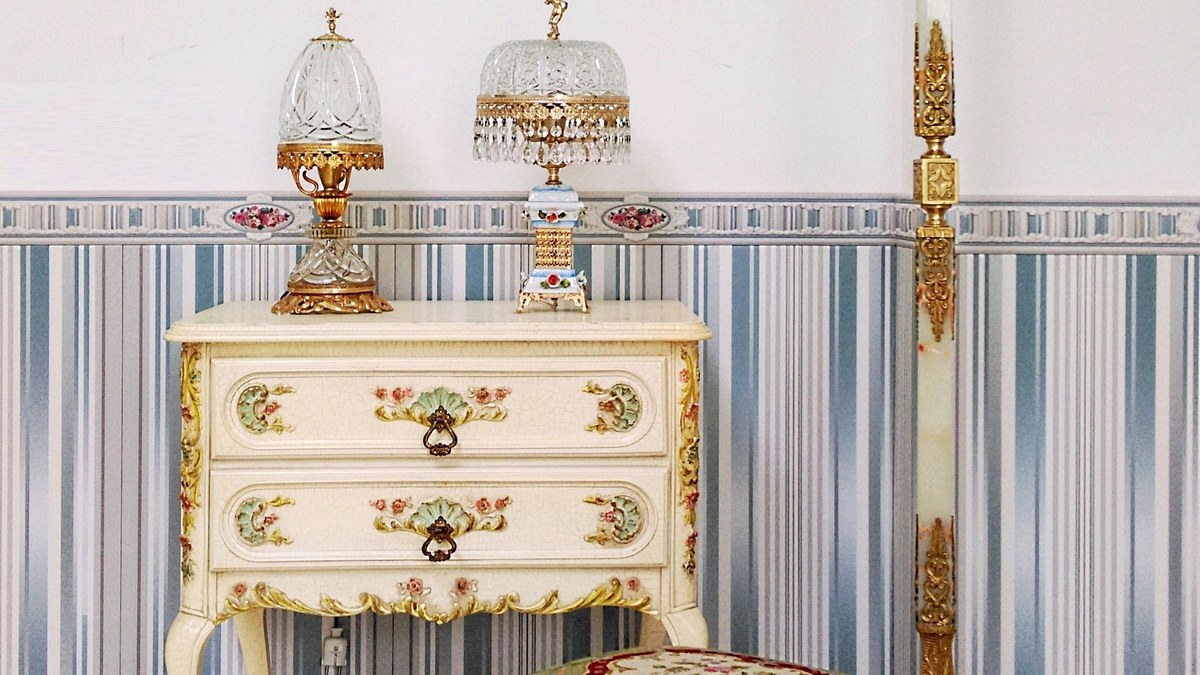
It has been in the family for decades. The finish is cloudy, the top has a ring from somebody's coffee cup, and one drawer sticks. Bringing an old dresser back is one of the most satisfying jobs in the shop. But before you reach for the stripper, take ten minutes for three checks. They can save you money, your health, and the dresser itself.
Check 1: Is it worth more as it is?
PBS's Antiques Roadshow is blunt about this: an original finish can add value or take it away, and most collectors and dealers say leave it alone. In one example from the show, a Gustav Stickley chair was valued at $40,000 to $50,000 with its original finish, compared with $10,000 to $15,000 if it had been refinished.
Most family dressers are not worth that kind of money. But if yours has a maker's label, an unusual style, or a story that suggests it's very old, have it looked at by an appraiser before you strip it. Sometimes a good cleaning is all it needs.
Check 2: Is there lead in the paint?
The Consumer Product Safety Commission banned lead paint on furniture made after February 27, 1978. So a dresser painted before 1978 may have lead paint. Age alone doesn't prove it does. For homes built before 1978, the EPA says to assume the paint has lead unless a test shows otherwise, and that's a smart habit for old painted furniture too.
If you're stripping old paint:
- Work outside or contain the area with plastic sheeting.
- Use wet methods. Don't dry sand or dry scrape old paint.
- Don't burn paint off with an open flame, and don't use power sanders unless they are hooked to a HEPA vacuum.
- Clean up with a HEPA vacuum and wet wipes, and keep kids and pets away.
Lead test kits are sold at hardware stores. The EPA lists the kits it recognizes on its lead test kit page.
Check 3: Solid wood or veneer?
Many dressers have veneer, a thin sheet of nice wood glued over a plainer core. The University of Nebraska Extension says furniture veneer is often only about 1/28 to 1/60 of an inch thick. That is thin enough to sand right through in a few passes.
Clues that you have veneer:
- A thin line of different wood visible along the edge of the top or drawer fronts
- A grain pattern that repeats or mirrors itself across the top, like pages of a book
- Small chips or bubbles where the thin top layer has lifted
If it's veneer, strip instead of sanding the old finish off, and sand the bare wood by hand, lightly.
What you need
- Drop cloth, chemical-resistant gloves, safety glasses
- Paint and finish stripper (follow the label), plastic scrapers, and stripping pads
- Sandpaper: 120, 150, and 180 or 220 grit, and a sanding block
- Tack cloth
- Stain and pre-stain conditioner (optional)
- Clear finish of your choice
- Wood glue and clamps for loose joints
About strippers
The EPA banned consumer sales of methylene chloride paint strippers in 2019, and a 2024 rule banned most remaining uses. Today's strippers use other chemicals, but they still need care. Read the whole label, wear chemical-resistant gloves and eye protection, and work outdoors or with strong ventilation.
Step by step
1. Empty it and take it apart. Pull the drawers, number them with tape, and remove the knobs and pulls. Bag the hardware.
2. Clean it. Wipe it down to remove grime and wax. You may find the finish looks much better already. If so, a cleaning and a fresh coat of wax may be all it needs.
3. Fix loose joints first. Reglue loose drawer joints and wobbly legs, and clamp them overnight.
4. Strip the old finish. Brush on the stripper in one direction, wait the time on the label, and lift the softened finish with a plastic scraper. Use stripping pads in corners and carvings. Repeat if needed, then clean off residue as the label directs.
5. Sand. Utah State University Extension recommends sanding bare wood starting around 100 to 120 grit and working up through 180 to 220. Sand with the grain. On veneer, go lightly by hand. Wipe off the dust and finish with a tack cloth.
6. Stain (optional). Many old dressers are made of woods that blotch, like birch, maple, or poplar. Use a pre-stain conditioner or gel stain and test on the back or inside a drawer first. Our guide to staining without blotches covers it step by step.
7. Finish. Utah State Extension describes the main choices: oil, varnish or polyurethane, lacquer, and shellac. For a dresser top that gets cups and keys, varnish or polyurethane is a common choice. Follow the label for dry time between coats, and sand lightly between coats.
8. Reassemble. Clean or polish the hardware, put the drawers back in order, and rub a little wax on the drawer runners if they stick.
Don't forget the rags
Rags soaked with oil-based stain or oil finishes can catch fire on their own as they dry. Massachusetts fire officials say to lay them flat, one at a time, outdoors away from anything that burns, never in a pile or a bucket, then throw them out the way your town says.
Grandpa stripped furniture with whatever was in the can and a lot of elbow grease. Today we know more about lead and strippers, so we wear gloves and work outside. The reward is the same: a dresser that goes back into the bedroom for another fifty years.