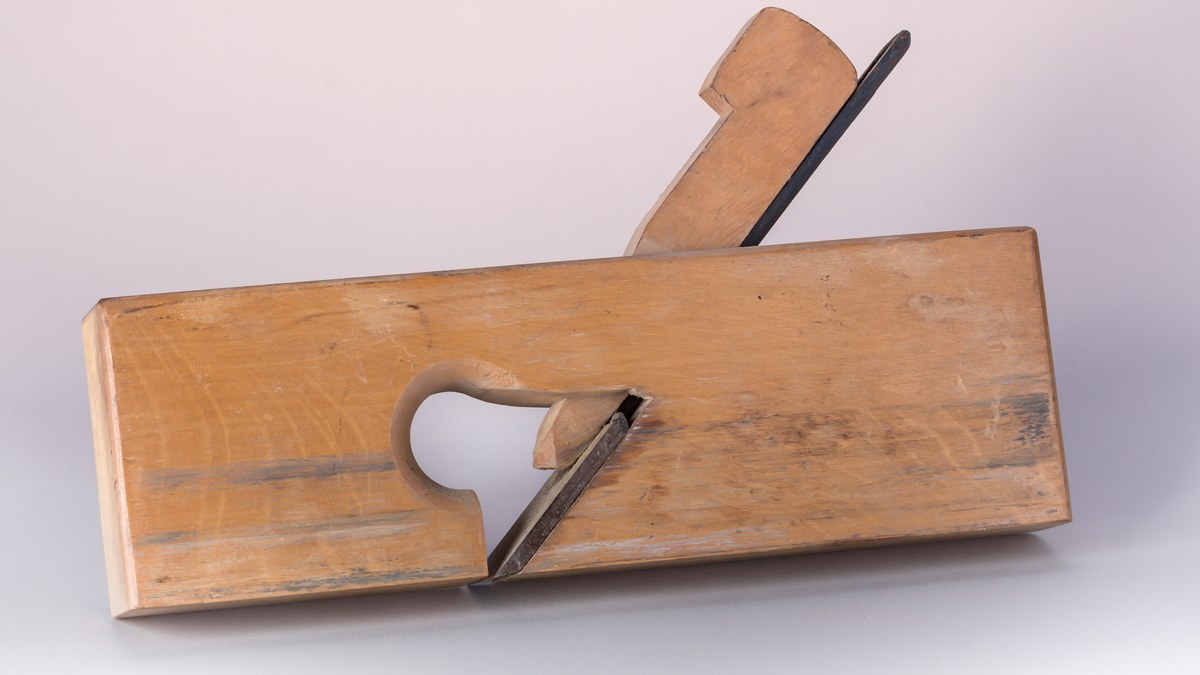
A lot of us have one: a cast iron hand plane, a little rusty, and a handful of chisels that came from a father's or grandfather's bench. They might look past saving. Most of the time they aren't. A couple of evenings of cleaning and sharpening, and they'll cut as well as anything you can buy.
A little history
The bench plane in most old shops traces back to Leonard Bailey. The Lemelson-MIT program says Bailey received his first patent in 1855 and patented the now-familiar modern plane design in 1867. In May 1869 he sold his business to Stanley Rule and Level, which gave Stanley the right to make planes under his patents. If your plane has an adjuster knob behind the blade and a lever cap on top, it very likely follows Bailey's pattern.
Step 1: Clean off the rust
Fine Woodworking's advice is to clean off the grime first, then remove rust with a method that suits the tool, from fine abrasives to rust-removing solutions. Take the plane apart, and keep the small parts in a cup. When the steel is clean, wipe on a light coat of protective oil, and repeat it now and then to keep new rust away.
Step 2: Flatten the back
A sharp edge is where two flat surfaces meet: the back and the bevel. Fine Woodworking recommends flattening and polishing the back of a chisel or plane iron once, near the cutting edge. You don't need the whole back perfect, just the first inch or so behind the edge. After that, you only sharpen the bevel.
Step 3: Choose your angle
WOOD Magazine says a common starting point is a primary bevel of 25 or 30 degrees, with a small micro-bevel 3 to 5 degrees steeper right at the edge. A 25 degree primary and a 30 degree micro-bevel is a good, simple setup for bench chisels and plane irons.
That's a starting point, not a law. Chisels for heavy chopping often do better with a steeper angle, and very fine paring chisels sometimes go lower.
Step 4: Sharpen the bevel
Test it: a sharp chisel will slice a clean curl across the end grain of a pine scrap without crushing the fibers.
Step 5: Tune the plane
Flatten the sole. Fine Woodworking recommends checking the sole with a straightedge, then flattening it on 320 grit adhesive-backed sandpaper stuck to a known-flat surface like float glass or a cast iron saw table. Keep the blade installed but retracted so the body is under normal tension. Rub in long strokes until the scratch pattern covers the area in front of the mouth, the heel, and the toe.
Set the chipbreaker. For fine work, set the chipbreaker close to the edge, about 1/32 inch or less, Fine Woodworking says. The best setting varies with the wood and the cut, so experiment.
Set the mouth. A small mouth opening suits thin finishing shavings. A heavier cut needs a larger opening.
Square the blade. Use the lateral adjustment lever to make the edge parallel with the sole. Sight down the sole from the front: you should see an even sliver of blade across the mouth.
Take a test cut. Start with the blade barely sticking out and advance it until you get a thin, even shaving. Wax on the sole makes it glide.
Safety
OSHA notes that dull tools slip and cause injuries, and that you should cut away from your body. A sharp chisel takes less force, which is exactly why it is safer. Keep both hands behind the edge, clamp the work, and store chisels with the edges covered.
Grandpa probably sharpened on one oilstone by feel and kept his plane tuned without thinking about it. Today we have honing guides and diamond plates that make it easier to get right the first time. The reward is the same: the hiss of a sharp plane and a pile of curly shavings on the floor.